
Introduction
Docker is an open platform that enables you to package and run an application in a loosely isolated environment called containers on servers and the cloud. A container is a standard unit of software that packages up code and all its dependencies so that the application runs quickly and reliably from one environment to another.
Therefore, in this tutorial, we are going to learn how to install docker on ubuntu and also see some of the basic commands that will help you cope with docker.
Pre-requisites
Before we embark on installing docker on ubuntu, you need to have some requirements which include;
- A sudo account with root privileges.
- An ubuntu 20.04 server
With those, you are now ready for the tutorial, welcome!
Step 1: Install Docker
The docker installation packages are available in two repositories, the official Docker repository, and the default repositories. However, the default ubuntu repository may not have the latest versions of docker, therefore it is advisable to install it from the official docker repository.
First of all, update the system packages;
$ sudo apt updateNow download some docker repositories over HTTPS;
$ sudo apt install apt-transport-https ca-certificates curl software- properties-commonAdd docker’s GPG key to your system. This ensures the accuracy of the software package;
$ curl -fsSL https://download.docker.com/linux/ubuntu/gpg | sudo apt-key add -Install the docker repository to the APT sources;
$ sudo add-apt-repository "deb [arch=amd64] https://download.docker.com/linux/ubuntu focal stable"This command also installs the latest database package repository.
Now go ahead and install the latest version of docker, but before that update your repositories once again;
$ sudo apt updateThen install the latest version of docker with;
$ sudo apt-get install docker-ceDocker is now installed, up and running. Test its status with the command below;
root@zimbra:~$ sudo systemctl status docker
● docker.service - Docker Application Container Engine
Loaded: loaded (/lib/systemd/system/docker.service; enabled; vendor preset: enabled)
Active: active (running) since Wed 2022-05-25 20:35:29 UTC; 3min 3s ago
Docs: https://docs.docker.com
Main PID: 24728 (dockerd)
Tasks: 9
CGroup: /system.slice/docker.service
└─24728 /usr/bin/dockerd -H fd:// --containerd=/run/containerd/containerd.sock
Docker is up and running!
You can check the version installed too. Do the following;
docker --versionThe output should show the docker version installed.
root@zimbra:~$ docker --version
Docker version 20.10.16, build aa7e414
Step 2: Running the Docker Command Without Sudo
By default, only a root user or a user in the docker group is able to execute the docker command which means that for you to execute the docker command, you should have root privileges. If you attempt to execute a docker command as a normal user, you will be denied permission. Let’s take, for instance, if you try to run the
hello-world
container, you will receive an error similar to the one below;
$ docker run hello-world
docker: Got permission denied while trying to connect to the Docker daemon socket at unix:///var/run/docker.sock: Post "http://%2Fvar%2Frun%2Fdocker.sock/v1.24/containers/create": dial unix /var/run/docker.sock: connect: permission denied.
See 'docker run --help'.
For you to be able to be granted permission for the above execution, you have to write
sudo
as a prefix before the docker commands. However, writing sudo every time tends to be tedious, therefore you should add the user to the docker group where you will have all privileges just like a root user.
Now, let us create the docker group, and run the following command;
sudo groupadd dockerIn the following command, your current user will be added to docker;
sudo usermod -aG docker $USERLastly, check whether your username is part of the docker group by running;
$ groups
adm cdrom sudo dip plugdev lxd docker
You are now a member of the docker group, you can execute the docker commands efficiently without being denied permission.
Let us now rerun the hello-world container and see if it works;
$ docker run hello-world
Hello from Docker!
This message shows that your installation appears to be working correctly.
Bravo! It’s currently working as we expected.
Step 3:Working with Docker Commands
A complete docker command consists of passing it through a chain of options and commands followed by some arguments. Docker takes the form as shown below;
$ docker [option] [command] [arguments]Docker has many subcommands whose format may keep changing according to the installed docker version. To list all the subcommands, you can run the following;
$ dockerCommands:
attach Attach local standard input, output, and error streams to a running container
build Build an image from a Dockerfile
commit Create a new image from a container's changes
cp Copy files/folders between a container and the local filesystem
create Create a new container
diff Inspect changes to files or directories on a container's filesystem
events Get real time events from the server
exec Run a command in a running container
export Export a container's filesystem as a tar archive
history Show the history of an image
images List images
import Import the contents from a tarball to create a filesystem image
info Display system-wide information
inspect Return low-level information on Docker objects
kill Kill one or more running containers
load Load an image from a tar archive or STDIN
login Log in to a Docker registry
logout Log out from a Docker registry
logs Fetch the logs of a container
pause Pause all processes within one or more containers
port List port mappings or a specific mapping for the container
ps List containers
pull Pull an image or a repository from a registry
push Push an image or a repository to a registry
rename Rename a container
restart Restart one or more containers
rm Remove one or more containers
rmi Remove one or more images
run Run a command in a new container
save Save one or more images to a tar archive (streamed to STDOUT by default)
search Search the Docker Hub for images
start Start one or more stopped containers
stats Display a live stream of container(s) resource usage statistics
stop Stop one or more running containers
tag Create a tag TARGET_IMAGE that refers to SOURCE_IMAGE
top Display the running processes of a container
unpause Unpause all processes within one or more containers
update Update configuration of one or more containers
version Show the Docker version information
wait Block until one or more containers stop, then print their exit codesFor our version, the above are the available commands in our docker.
Sometimes you may need to know much about a certain command, you can get help right away. Just run ‘
docker COMMAND --help'
and replace
COMMAND
with the command you wish to know more about.
$ docker COMMAND --helpStep 4: Working with Docker Images
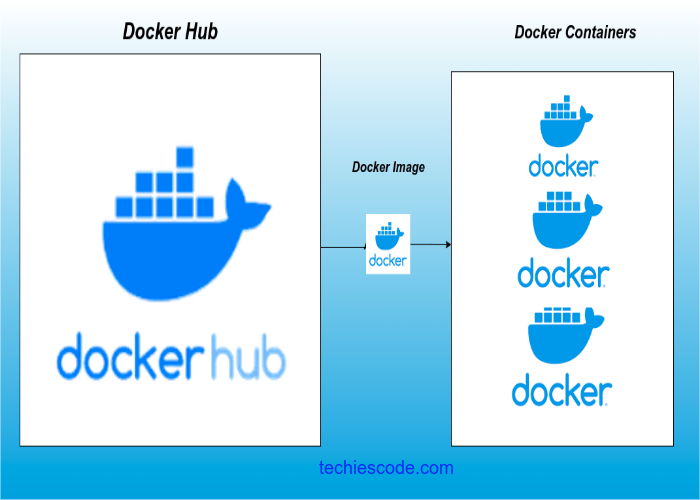
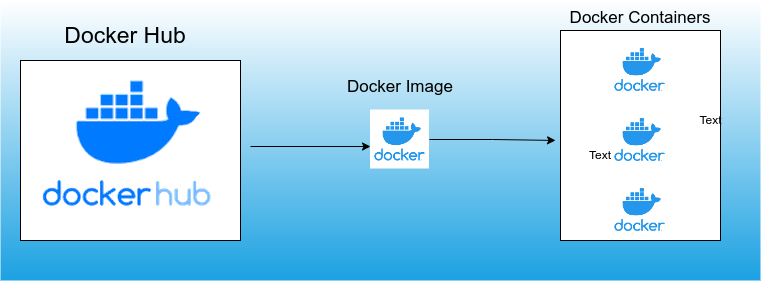
As we saw earlier, docker images are files like sets of instructions that are used to execute a docker container. Docker images build up docker containers which are then pulled directly from a repository called docker hub. Docker hub is a repository where many companies including Linux distributions have hosted their images on the Docker hub.
It is simple to download a docker image, simply run the
docker
command, the
pull
subcommand and the
image name
;
$ docker pull [image_name]Let’s try and pull the official ubuntu image onto our machine, well run;
$ docker pull ubuntuOur output will be as shown;
Using default tag: latest
latest: Pulling from library/ubuntu
125a6e411906: Pull complete
Digest: sha256:26c68657ccce2cb0a31b330cb0be2b5e108d467f641c62e13ab40cbec258c68d
Status: Downloaded newer image for ubuntu:latest
docker.io/library/ubuntu:latest
The ubuntu docker image is downloaded, to see the downloaded images, run;
$ docker imagesREPOSITORY TAG IMAGE ID CREATED SIZE
ubuntu latest d2e4e1f51132 3 weeks ago 77.8MB
hello-world latest feb5d9fea6a5 8 months ago 13.3kBA time you may not know the exact image name you want to download, you can as well search it through a list that will be provided. Run the following;
$ docker search ubuntu
NAME                             DESCRIPTION                                     STARS     OFFICIAL   AUTOMATED
ubuntu                           Ubuntu is a Debian-based Linux operating sys…   14310     [OK]
websphere-liberty                WebSphere Liberty multi-architecture images …   284       [OK]
ubuntu-upstart                   DEPRECATED, as is Upstart (find other proces…   112       [OK]
neurodebian                      NeuroDebian provides neuroscience research s…   91        [OK]
open-liberty                     Open Liberty multi-architecture images based…   53        [OK]
ubuntu/nginx                     Nginx, a high-performance reverse proxy & we…   49
ubuntu-debootstrap               DEPRECATED; use "ubuntu" instead                46        [OK]
ubuntu/mysql                     MySQL open source fast, stable, multi-thread…   33
ubuntu/apache2                   Apache, a secure & extensible open-source HT…   32
kasmweb/ubuntu-bionic-desktop    Ubuntu productivity desktop for Kasm Workspa…   26
ubuntu/prometheus                Prometheus is a systems and service monitori…   24
ubuntu/squid                     Squid is a caching proxy for the Web. Long-t…   21
ubuntu/bind9                     BIND 9 is a very flexible, full-featured DNS…   19
ubuntu/postgres                  PostgreSQL is an open source object-relation…   17
ubuntu/redis                     Redis, an open source key-value store. Long-…   10
ubuntu/prometheus-alertmanager   Alertmanager handles client alerts from Prom…   6
ubuntu/grafana                   Grafana, a feature rich metrics dashboard & …   6
ubuntu/memcached                 Memcached, in-memory keyvalue store for smal…   5
ubuntu/telegraf                  Telegraf collects, processes, aggregates & w…   4
ubuntu/kafka                     Apache Kafka, a distributed event streaming …   4
ubuntu/cortex                    Cortex provides storage for Prometheus. Long…   3
ubuntu/zookeeper                 ZooKeeper maintains configuration informatio…   3
ubuntu/cassandra                 Cassandra, an open source NoSQL distributed …   2
ubuntu/loki                      Grafana Loki, a log aggregation system like …   0
bitnami/ubuntu-base-buildpack    Ubuntu base compilation image                   0
Step 5: Running a Docker Container
Just like virtual machines, docker containers are isolated environments that run drawing resources from the docker image assigned to them.
To efficiently run a container, you should be ‘inside’ it, meaning you have to gain access to the container as a root user. Here, we will use the -i and -t switches that will grant us access to the container. Let us use the Ubuntu docker image we downloaded earlier for illustration purposes;
$ docker run -it ubuntuYou notice that your command prompt will change and display a certain code of numbers which is the container ID. That means that you are now working from inside the container. Ours looks like this;
root@d7f724240b6d:/# You can now make your own changes in the container without prefixing sudo because you are already logged in as root. For instance, let’s update the packages in the container.
root@d7f724240b6d:/# apt updateNote that the command will only update the packages inside the container alone. You can perform as many tasks as possible. Once you are done and need to log out of the container, enter
exit
at prompt.
Now, that we know how to run docker containers, then how do we manage them?
Step 6: Managing Docker Containers
Here we encounter a series of essential docker commands, if you need to list all containers(both active and inactive), run;
docker container ps -aYou will have a similar output like this;
CONTAINER ID   IMAGE         COMMAND    CREATED          STATUS                     PORTS     NAMES
d7f724240b6d   ubuntu        "bash"     14 minutes ago   Exited (0) 2 minutes ago             blissful_beaver
a2ab52eca9a7   hello-world   "/hello"   2 hours ago      Exited (0) 2 hours ago               trusting_montalcini
00e6f9e478cc   hello-world   "/hello"   16 hours ago     Exited (0) 16 hours ago              beautiful_ride
To list the active containers only, run;
docker container psA similar output is shown below;
CONTAINER ID IMAGE COMMAND CREATED STATUS PORTS NAMESTo start a stopped container, run docker start followed by the container’s name or container ID. Let’s start the hello-world container with ID a2ab52eca9a7 ;
docker start a2ab52eca9a7 Check its status by running
docker ps
.
To stop a started container, run
docker stop
followed by the container’s ID or container name then check its status by running
docker ps.
docker stop a2ab52eca9a7Step 7: Working with Docker Volumes
A Docker volume is an independent file that exists as a directory on the host where data is persisted. Docker containers allow you to share data between containers.
To create a new docker volume, you do the following;
$ docker volume create [volume_name]Now you can create a container and mount a volume into it and start using it;
docker run --mount source=[volume_name],destination=[path_in_container] [docker_image]That way, you have mounted docker volume onto a container.
Conclusion
The installation of Docker is successful, you can now use it to package and run your applications. We have also interacted with a few basic docker commands, docker images, docker volumes, and how to manage docker containers. You can go ahead and learn a lot more concerning docker. Thank you for visiting our site and welcome back again.
How to Install Grafana in Ubuntu 18.04|20.04|22.04
Origin and Foundation of Linux Kernel and Operating Sytems
Learn How to Configure Nginx Server-Blocks in Ubuntu 22.04|20.04|18.04

2 thoughts on “How to Install Docker in Ubuntu”