

To host a website or web-based application, you need a web server that will be able to run your application to enhance accessibility via web browsers such as Chrome, Firefox, and many more. In the previous article, we talked about How to Install Nginx Webserver in Ubuntu 18/20 as one of the webservers. In This article, we are going to talk about Apache, a popular web server with basic skills in configuration. At the end of this guide, you should be able to install Apache web server on Ubuntu 18.04 and Ubuntu 20.04 and be able to host a web application.
Install Apache
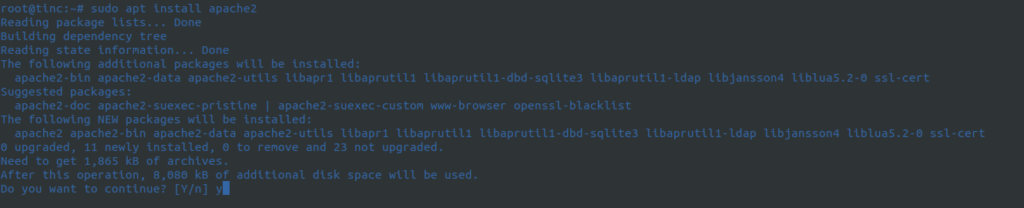
Since Apache is readily available in the Ubuntu repository, we will use apt command to install Apache. First, we have to update the system to ensure that all repositories are up to date before we install Apache web-server. Run commands below in the terminal to install Apache.
apt-get update && apt-get upgrade -y
apt-get install apache2
Below screen will show up requesting for permission to continue. Press Y to accept then click ENTER key to continue.
Configure Firewall.
After installation, we will have to adjust firewall settings to allow web traffics through firewall. We are going to effect settings on UFW Firewall.
Run command below in terminal to display available apps profiles on ufw.
sudo ufw show app list
From the above;
Apache – This profile opens port 80 for unsecure we traffics. No TLS/SSL security encryption. Apache Secure – Opens port 443 for TLS/SSL secured web traffics. Apache Full – This command allows both port 80 and 443 to allow both secure and insecure web traffics.
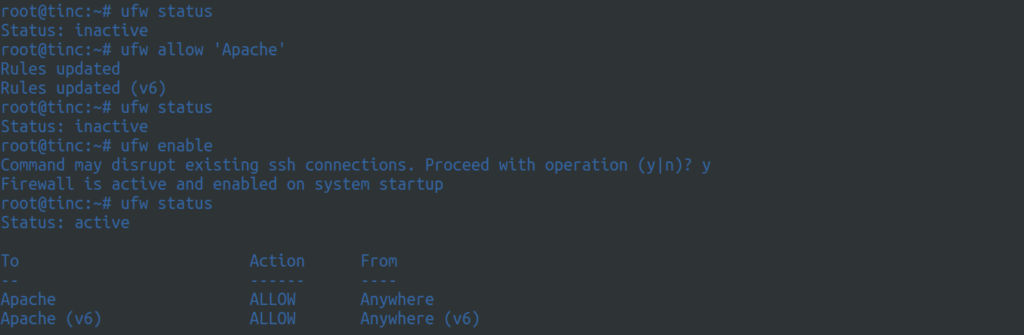
We are going to allow port 80. This will enable you to access your web application without SSL configured.
sudo ufw status
sudo ufw allow 'Apache'
sudo ufw enable
sudo ufw status
After the last command, you should be able to see Apache profile being allowed in the firewall.
Web Server Status.
By default, Ubuntu starts Apache services immediately after installation. You can confirm the status by running the command below in terminal.
sudo systemctl status apache2
or
sudo service apache2 status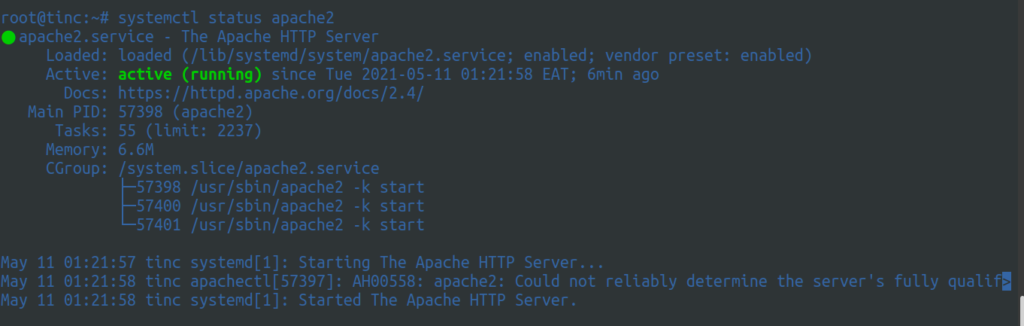
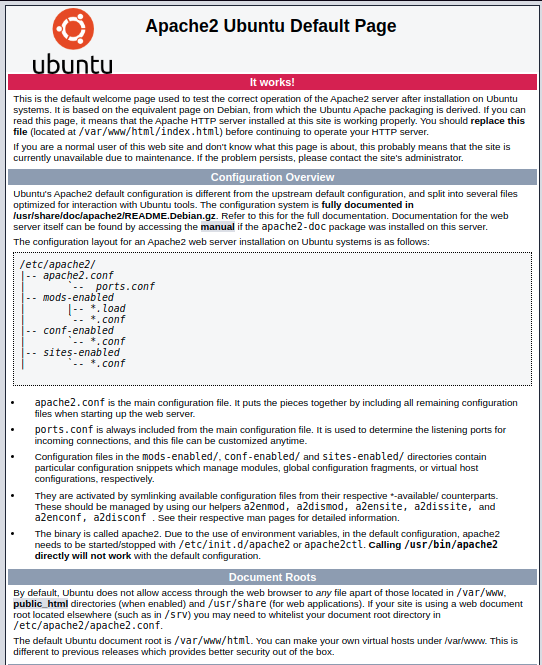
Testing Web server.
It high time now we confirm success of our installation. Go to browser then enter your server hostname/domain/IP. Should look like http://your_server_IP. The following web page will appear.
Manage Apache Services.
Stop web server while running.
sudo systemctl stop apache2To start stopped apache server
sudo systemctl start apache2To stop and start apache web servers again.
sudo systemctl restart apache2To apply changes to new configurations without dropping the connection,
sudo systemctl reload apache2Disable automatic start when server boots up.
sudo systemctl disable apache2Enable start up in Apache when server boots.
sudo systemctl enable apache2Conclusion.
In this guide, we have managed to install Apache webserver on Ubuntu 18.04 and Ubuntu 20.04. In addition, we have also learned how to manage web server services in different states. Hope the article has been useful to you. stay tuned for next documentation on how to configure virtual hosts in Apache web server.

2 thoughts on “How to Install Apache in Ubuntu 18.04/20.04”