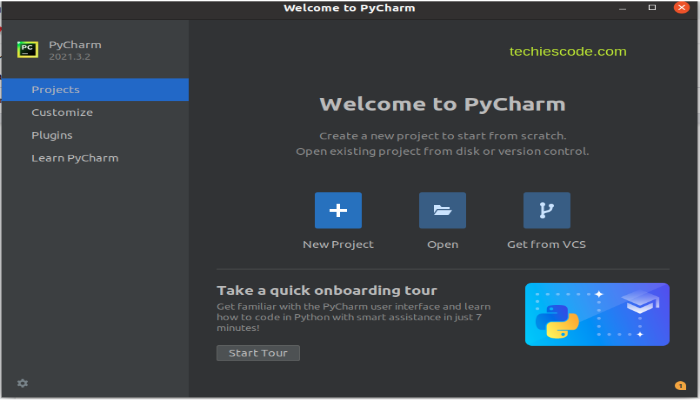
Introduction
In this tutorial, we are going to look at PyCharm community editor among other different types of code editing software. Here you will be able to learn many things about the PyCharm community editor including how developers can benefit from the PyCharm community, several installation methods of the PyCharm community, and also show you different themes and other configurations.
What are code editors?
These are software that is designed specifically to help developers with coding. They are text editors with added functions to manage and edit code and they can either be standalone or be a part of an IDE.
Some editors support one or two programming languages while some support multiple programming languages. However, the code editors don’t compile the code, it only allows you to write and edit the source code.
Some of the common code editors include;
- Atom – supports many languages and can work on Windows, Linux, and macOS.
- Notepad – supports PHP, Javascript, HTML and CSS. It is compatible with Linux, Windows, and macOS(using a third-party tool).
- Textmate – supports many languages but only works on macOS.
- Visual studio code – supports many languages including; C++, Java, Typescript, JSON, and many more. Compatible with Linux, Windows, and macOS.
So, what is the PyCharm community edition?
Pycharm is an integrated development environment developed by the Czech company JetBrains and it is used in computer programming. It is specifically developed for the Python programming language.
The community edition of PyCharm is apache 2 licensed which means that it is a free and open-source edition and you can use it for both commercial and personal use whenever you like.
PyCharm community provides a graphical debugger, code analysis, an integrated unit tester, and integration with version control systems.
Pycharm community is supported on Windows, Linux, and macOS and has a size of 174-555MB.
What are the benefits of the PyCharm community for developers?
The benefits of the pycharm community for developers are entangled in the several features of pycharm as discussed below;
1. Availability of integration tools
Pycharm provides support for integrating a number of tools that help to enhance code productivity to facilitate dealing with data science and projects. Some of the tools include; anaconda, IPython, Pylint, Pytest, and kite.
2. Data science and machine learning
Tools such as Matplotlib and SciPy help Python developers accomplish data science and machine learning projects.
3. Integrated debugging and testing
To accomplish debugging and testing programs, pycharm features an integrated python debugger and integrated unit testing with line-by-line code coverage.
4. Intelligent code editor
Pycharm comes with a smart code editor that offers an enhanced level of code comprehension and readability by means of distinct color schemes for keywords, functions, and classes.
5. Refactoring
This feature in pycharm helps in improving the internal structure of a python program without affecting the external performance of the program. Hence making changes to both local and global variables is efficient and fast.
6. Project and code navigation
With this feature, it is possible for developers to navigate to a class, function, or file much easier.
7. Remote development
Pycharm allows running, debugging, testing, and deploying applications on remote hosts or virtual machines.
Installing PyCharm on Ubuntu 20.04
Requirements :
Storage space – 2.5GB (main) + 1GB (caches)
Memory – 4GB
Here, we are going to look at the two main modes of installation available for PyCharm:
Installation Using Terminal
Step 1. Make sure your ubuntu system is updated
sudo apt updateStep 2. Execute the following commands depending on your preferred version:
sudo snap install pycharm-community --classicOR
sudo snap install pycharm-profesional --classicOR
sudo snap install pycharm-educational --classic
PyCharm is already installed!
Step 3. Now launch the PyCharm using the command:
pycharm-communityOR
Pycharm-professionalOR
Pycharm-educationalInstallation of PyCharm using the graphical user interface
Step 1.Open the activities menu on the top left corner and search for the software application.
Step 2. Search for pycharm and select your preferred version to install.
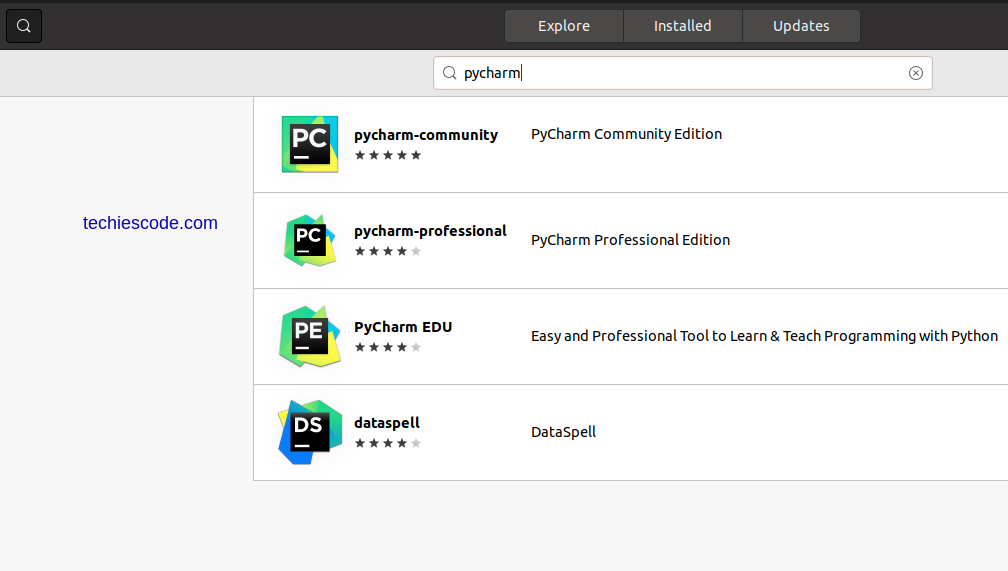
Step 3. Hit the install button to install PyCharm
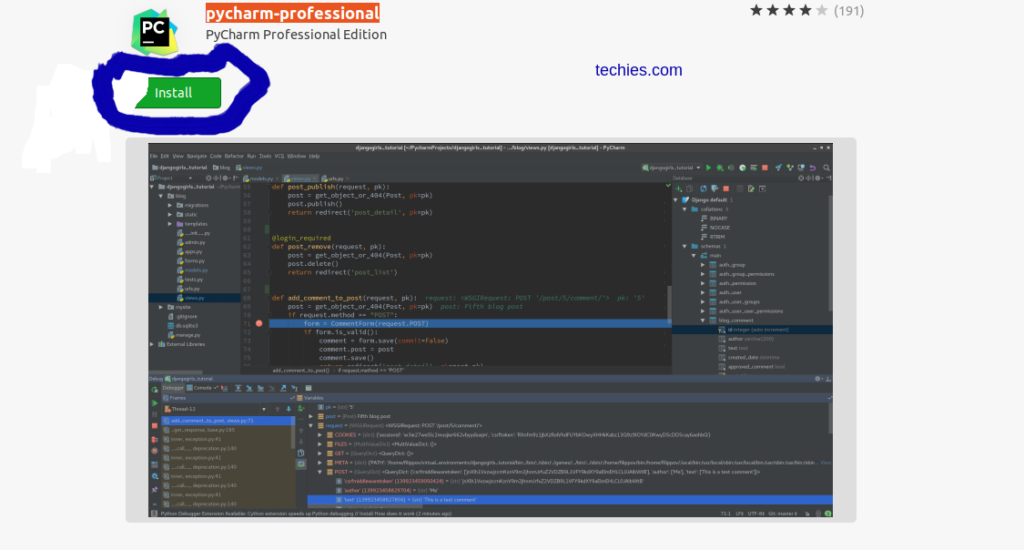
And the application will start installing immediately.

Step 4. You will have to enter your password for authentication to continue
Step 5. Start the PyCharm application by clicking the launch icon and you will be ready to go!
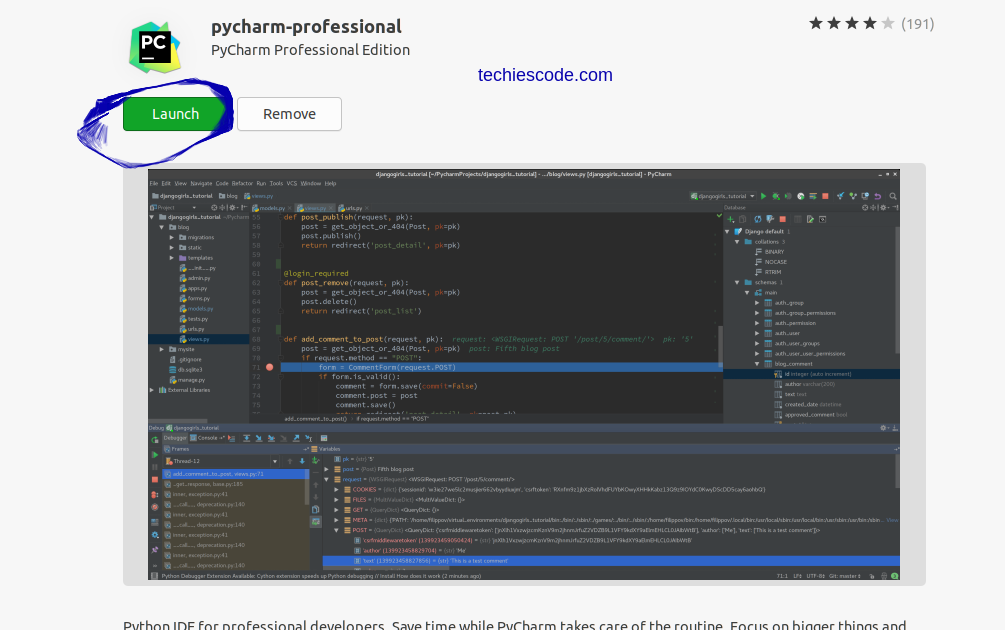
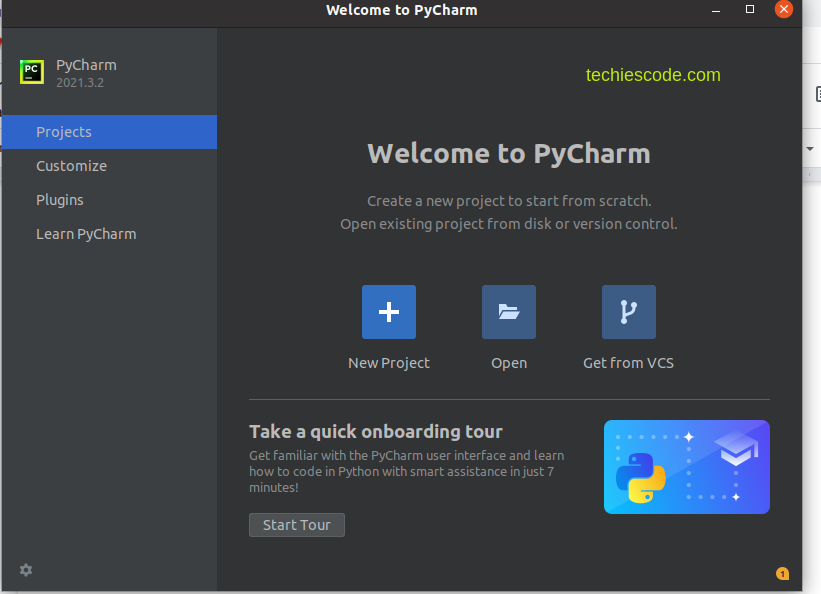
You can now start a new project or import your existing project.
Conclusion
In a nutshell, PyCharm is one of the best and most efficient IDEs for handling Python development. You will surely have an amazing experience working with PyCharm.

