Introduction
What is a Zimbra Mail Server?
Communication is a crucial element in the setup of an organization, as we know, most communications occur via mail. Zimbra is therefore a leading open source email platform that manages all the contents in a mailbox. Such contents include messages, attachments, calendars, and contacts.
One good thing about Zimbra is that each Zimbra mailbox server in a system is only bound to see its own storage volumes, it cannot read, write or see any other Zimbra server content.
Some of the OS that supports Zimbra mail servers include Red Hat enterprise, oracle Linux, CentOS Linux, and Ubuntu LTS server edition.
However, in this tutorial, we are going to learn how to install the Zimbra mail server on centOS 7.
Prerequisites for Zimbra Mail Server
For you to be able to install the Zimbra mail server, you will need a number of requirements which include;
- 8 GB RAM (minimum of 3GB)
- CentOS 7
- 4 CPUs
- 50GB free space
- An A and MX record for your server
- A fully qualified domain name (FQDN)
Right away, let’s embark on installing the Zimbra mail server on CentOS.
Step 1: Update CentOS
You have to log in to the CentOS server and make sure centOS is fully updated by running the following command, make sure to be logged in as root.
$ yum update –yThe next thing is to set up your server’s hostname, for our case we are going to use mail.techies.com.
hostnamectl set-hostname mail.techiescode.com
$exec bash
Now, the following lines need to be added to the
/etc/hosts file
$ nano /etc/hosts

192.213.0.12 mail.techiescode.com
127.0.0.1 localhost  localhost localhost.localdomain localhost4 localhost$
::1         localhost localhost.localdomain localhost6 localhost6.localdo$
Using the dig command, you should now verify the A and MX records.
If you encounter an error saying dig command not found, install it with the following command;
$ sudo yum install bind-utilsNow proceed on verifying A and MX;
[root@mail ~] dig -t A mail.techies.com
[root@mail ~] dig -t MX mail.techies.com
Step 2: Install prerequisites
First, you have to put into consideration that two mail servers can not run at the same time on one system, we should therefore remove postfix.
First, let’s check if it’s running.
$ service postfix statusWe should therefore disable it;
$ service postfix stop && chkconfig postfix offRedirecting to /bin/systemctl status postfix.service
● postfix.service - Postfix Mail Transport Agent
Loaded: loaded (/usr/lib/systemd/system/postfix.service; disabled; vendor preset: disabled)
Active: inactive (dead)Postfix is disabled.
To install Zimbra, there are a number of prerequisites that need to be installed. Lucky enough, we can perform the task with a single command.
$ yum install -y gmp libidn wget nano make nc sudo sysstat libtool-ltdl glibc perl ntpStep 3: Download the latest version of the Zimbra Mail Server
Visit Zimbra’s official site and download the latest version of Zimbra Collaboration Open Source Edition. Using the wget command, we’ll look for the latest version of Zimbra which is 8.8.15 for our case.
$ wget https://files.zimbra.com/downloads/8.8.15_GA/zcs-8.8.15_GA_3869.RHEL7_64.20190918004220.tgzStep 4: Install Zimbra Mail Server
You will now extract the downloaded file using the tar command.
$ tar xvf zcs-8.8.15_GA_3869.RHEL7_64.20190918004220.tgzIn the extracted folder, run the install script.
cd  zcs-8.8.15_GA_3869.RHEL7_64.20190918004220
./install.sh
At the bottom of the script, press Y to accept the license.
Checking for existing installation...
zimbra-drive...NOT FOUND
zimbra-imapd...NOT FOUND
zimbra-patch...NOT FOUND
zimbra-mta-patch...NOT FOUND
zimbra-proxy-patch...NOT FOUND
zimbra-license-tools...NOT FOUND
zimbra-license-extension...NOT FOUND
zimbra-network-store...NOT FOUND
zimbra-network-modules-ng...NOT FOUND
zimbra-chat...NOT FOUND
zimbra-talk...NOT FOUND
zimbra-ldap...NOT FOUND
zimbra-logger...NOT FOUND
zimbra-mta...NOT FOUNDzimbra-dnscache...NOT FOUND
zimbra-snmp...NOT FOUND
zimbra-store...NOT FOUND
zimbra-apache...NOT FOUND
zimbra-spell...NOT FOUND
zimbra-convertd...NOT FOUND
zimbra-memcached...NOT FOUND
zimbra-proxy...NOT FOUND
zimbra-archiving...NOT FOUND
zimbra-core...NOT FOUND
----------------------------------------------------------------------
PLEASE READ THIS AGREEMENT CAREFULLY BEFORE USING THE SOFTWARE.
SYNACOR, INC. ("SYNACOR") WILL ONLY LICENSE THIS SOFTWARE TO YOU IF YOU
FIRST ACCEPT THE TERMS OF THIS AGREEMENT. BY DOWNLOADING OR INSTALLING
THE SOFTWARE, OR USING THE PRODUCT, YOU ARE CONSENTING TO BE BOUND BY
THIS AGREEMENT. IF YOU DO NOT AGREE TO ALL OF THE TERMS OF THIS
AGREEMENT, THEN DO NOT DOWNLOAD, INSTALL OR USE THE PRODUCT.
License Terms for this Zimbra Collaboration Suite Software:
----------------------------------------------------------------------
Do you agree with the terms of the software license agreement? [N]
Now configure the Zimbra package repository and accept all components to install.
Importing Zimbra GPG key
Configuring package repository
Checking for installable packages
Found zimbra-core (local)
Found zimbra-ldap (local)
Found zimbra-logger (local)
Found zimbra-mta (local)
Found zimbra-dnscache (local)
Found zimbra-snmp (local)
Found zimbra-store (local)
Found zimbra-apache (local)
Found zimbra-spell (local)
Found zimbra-memcached (repo)
Found zimbra-proxy (local)
Found zimbra-drive (repo)
Found zimbra-imapd (local)
Found zimbra-patch (repo)
Found zimbra-mta-patch (repo)
Found zimbra-proxy-patch (repo)
Select the packages to install
Install zimbra-ldap [Y]
Press y to allow system modification
Select the packages to install
Install zimbra-ldap [Y]
Install zimbra-logger [Y]
Install zimbra-mta [Y]
Install zimbra-dnscache [Y]
Install zimbra-snmp [Y]
Install zimbra-store [Y]
Install zimbra-apache [Y]
Install zimbra-spell [Y]
Install zimbra-memcached [Y]
Install zimbra-proxy [Y]
Install zimbra-drive [Y]
Install zimbra-imapd (BETA - for evaluation only) [N]
Install zimbra-chat [Y]
Checking required space for zimbra-core
Checking space for zimbra-store
Checking required packages for zimbra-store
zimbra-store package check complete.
Installing:
zimbra-core
zimbra-ldap
zimbra-logger
zimbra-mta
zimbra-dnscache
zimbra-snmp
zimbra-store
zimbra-apache
zimbra-spell
zimbra-memcached
zimbra-proxy
zimbra-drive
zimbra-imapd
zimbra-patch
zimbra-mta-patch
zimbra-proxy-patch
zimbra-chat
The system will be modified.  Continue? [N] Y
Press y to continue with the installation of the packages.
The installation may take a while depending on your network speed. After the installation of all the Zimbra packages, the output will be as follows;
Beginning Installation - see /tmp/install.log.5n9DYCY3 for details...
zimbra-core-components will be downloaded and installed.
zimbra-timezone-data will be installed.
zimbra-common-core-jar will be installed.
zimbra-common-mbox-conf will be installed.
zimbra-common-mbox-conf-attrs will be installed.
zimbra-common-mbox-conf-msgs will be installed.
zimbra-common-mbox-conf-rights will be installed.
zimbra-common-mbox-db will be installed.
zimbra-common-mbox-docs will be installed.
zimbra-common-mbox-native-lib will be installed.
zimbra-common-core-libs will be installed.
zimbra-core will be installed.
zimbra-ldap-components will be downloaded and installed.
zimbra-ldap will be installed.
zimbra-logger will be installed.
zimbra-mta-components will be downloaded and installed.
zimbra-mta will be installed.
zimbra-dnscache-components will be downloaded and installed.
zimbra-dnscache will be installed.
zimbra-snmp-components will be downloaded and installed.
zimbra-snmp will be installed.
zimbra-store-components will be downloaded and installed.
zimbra-jetty-distribution will be downloaded and installed.
zimbra-mbox-conf will be installed.
zimbra-mbox-war will be installed.
zimbra-mbox-service will be installed.
zimbra-mbox-webclient-war will be installed.
zimbra-mbox-admin-console-war will be installed.
zimbra-mbox-store-libs will be installed.
zimbra-store will be installed.
zimbra-apache-components will be downloaded and installed.
zimbra-apache will be installed.
zimbra-spell-components will be downloaded and installed.
zimbra-spell will be installed.
zimbra-memcached will be downloaded and installed.
zimbra-proxy-components will be downloaded and installed.
zimbra-proxy will be installed.
zimbra-drive will be downloaded and installed (later).
zimbra-patch will be downloaded and installed (later).
zimbra-mta-patch will be downloaded and installed (later).
zimbra-proxy-patch will be downloaded and installed (later).
zimbra-chat will be downloaded and installed (later).
Downloading packages (11):
zimbra-core-components
zimbra-ldap-components
zimbra-mta-components
zimbra-dnscache-components
zimbra-snmp-components
zimbra-store-components
zimbra-jetty-distribution
zimbra-apache-components
zimbra-spell-components
zimbra-memcached
zimbra-proxy-components
...done
Installing local packages (26):
zimbra-timezone-data
zimbra-common-core-jar
zimbra-common-mbox-conf
zimbra-common-mbox-conf-attrs
zimbra-common-mbox-conf-msgs
zimbra-common-mbox-conf-rights
zimbra-common-mbox-db
zimbra-common-mbox-docs
zimbra-common-mbox-native-lib
zimbra-common-core-libs
zimbra-core
zimbra-ldap
zimbra-logger
zimbra-mta
zimbra-dnscache
zimbra-snmp
zimbra-mbox-conf
zimbra-mbox-war
zimbra-mbox-service
zimbra-mbox-webclient-war
zimbra-mbox-admin-console-war
zimbra-mbox-store-libs
zimbra-store
zimbra-apache
zimbra-spell
zimbra-proxy
...done
Installing extra packages (5):
zimbra-drive
zimbra-patch
zimbra-mta-patch
zimbra-proxy-patch
zimbra-chat
...done
Running Post Installation Configuration:
Setting defaults from saved config in /opt/zimbra/.saveconfig/config.save
HOSTNAME=mail.techies.com
LDAPHOST=mail.techies.com
LDAPPORT=389
SNMPTRAPHOST=mail.techies.com
[email protected]
[email protected]
SNMPNOTIFY=yes
SMTPNOTIFY=yes
LDAPROOTPW=*
LDAPZIMBRAPW=*
LDAPPOSTPW=*
LDAPREPPW=*
LDAPAMAVISPW=*
LDAPNGINXPW=*
Restoring existing configuration file from /opt/zimbra/.saveconfig/localconfig.xml...done
Operations logged to /tmp/zmsetup.20220516-193826.log
Adding /opt/zimbra/conf/ca/ca.pem to cacerts
Checking ldap status....not running.
Starting ldap...done.
Setting defaults...done.
Setting defaults from existing config...done.
Checking for port conflicts
Setting defaults from ldap...done.
Saving config in /opt/zimbra/config.56485...done.
Operations logged to /tmp/zmsetup.20220516-193826.log
Setting local config values...done.
Initializing core config...Setting up CA...done.
Deploying CA to /opt/zimbra/conf/ca ...done.
Setting replication password...done.
Setting Postfix password...done.
Setting amavis password...done.
Setting nginx password...done.
Creating server entry for mail.techies.com...already exists.
Setting Zimbra IP Mode...done.
Saving CA in ldap...done.
Saving SSL Certificate in ldap...done.
Setting spell check URL...done.
Setting service ports on mail.techies.com...done.
Setting Keyboard Shortcut Preferences...done.
Setting zimbraFeatureTasksEnabled=TRUE...done.
Setting zimbraFeatureBriefcasesEnabled=TRUE...done.
Setting Master DNS IP address(es)...done.
Setting DNS cache tcp lookup preference...done.
Setting DNS cache udp lookup preference...done.
Setting DNS tcp upstream preference...done.
Updating zimbraLDAPSchemaVersion to version '1557224584'
Setting TimeZone Preference...done.
Initializing mta config...done.
Setting services on mail.techies.com...done.
Adding mail.techies.com to zimbraMailHostPool in default COS...done.
Creating user [email protected] exists.
Creating user [email protected] exists.
Creating user [email protected] exists.
Setting spam training and Anti-virus quarantine accounts...done.
Configuring SNMP...done.
Setting up syslog.conf...done.
Starting servers...done.
Enabling jetty logging...done.
Checking for deprecated zimlets...done.
Checking for network zimlets in LDAP...done.
Removing network zimlets...
Finished removing network zimlets.
Installing common zimlets...
com_zimbra_adminversioncheck...done.
com_zimbra_attachcontacts...done.
com_zimbra_attachmail...done.
com_zimbra_bulkprovision...done.
com_zimbra_cert_manager...done.
com_zimbra_clientuploader...done.
com_zimbra_date...done.
com_zimbra_email...done.
com_zimbra_mailarchive...done.
com_zimbra_phone...done.
com_zimbra_proxy_config...done.
com_zimbra_srchhighlighter...done.
com_zimbra_tooltip...done.
com_zimbra_url...done.
com_zimbra_viewmail...done.
com_zimbra_webex...done.
com_zimbra_ymemoticons...done.
com_zextras_drive_open...done.
com_zextras_chat_open...done.
Finished installing common zimlets.
Getting list of all zimlets...done.
Updating non-standard zimlets...
Finished updating non-standard zimlets.
Restarting mailboxd...done.
Skipping creation of default domain GAL sync account - existing install detected.
You have the option of notifying Zimbra of your installation.
This helps us to track the uptake of the Zimbra Collaboration Server.
The only information that will be transmitted is:
The VERSION of zcs installed (8.8.15_GA_3869_RHEL7_64)
The ADMIN EMAIL ADDRESS created ([email protected])
Notify Zimbra of your installation? [Yes]
Notifying Zimbra of installation via http://www.zimbra.com/cgi-bin/notify.cgi?VER=8.8.15_GA_3869_RHEL7_64&[email protected]
ERROR: Notification failed
Checking if the NG started running...done.
Setting up zimbra crontab...done.
Moving /tmp/zmsetup.20220516-193826.log to /opt/zimbra/log
Configuration complete - press return to exit
This will imply that we have successfully installed and configured the Zimbra mail server successfully on centOS 7. One more step and we will be fully done, we have to install and enable firewalld on our server.
Install and enable firewalld
With the following commands, you will be able to install firewallD on the centos server although some centos versions have it installed by default.
sudo yum install firewalld
sudo systemctl start firewalld
sudo systemctl enable firewalld
Now go ahead and allow the Zimbra admin panel’s service firewall.
$ firewall-cmd --permanent --add-port=7071/tcp
success
$ firewall-cmd --reload
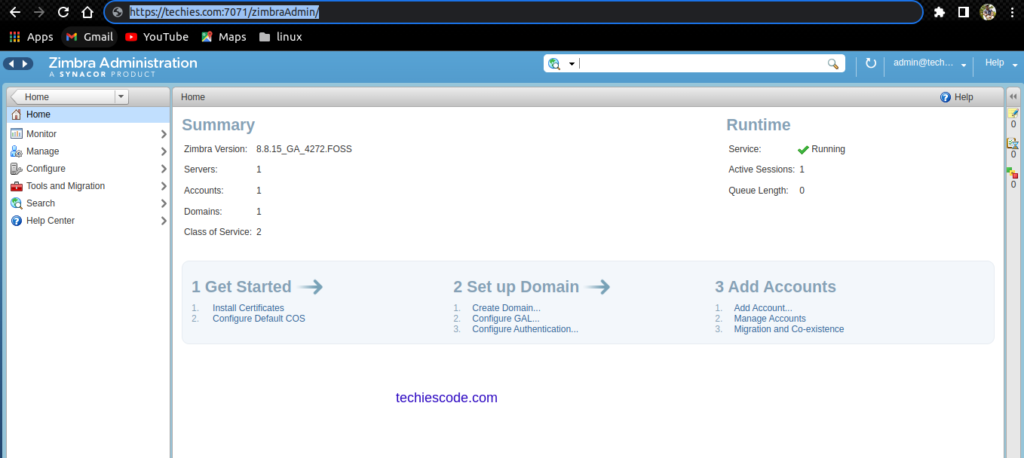
successTo access Zimbra as an admin, go to your browser and type in your URL as shown below.
https://techies.com:7071/zimbraAdmin/
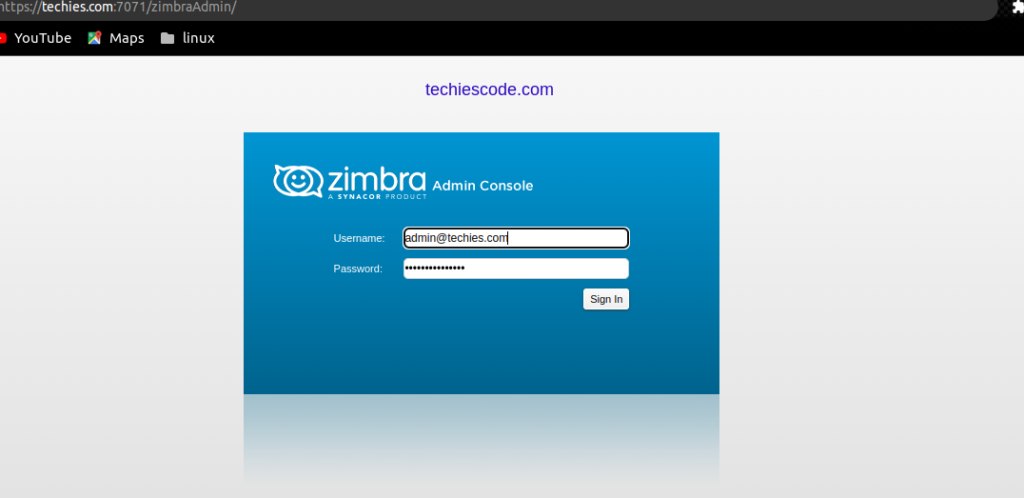
after logging in, the page will appear like this;
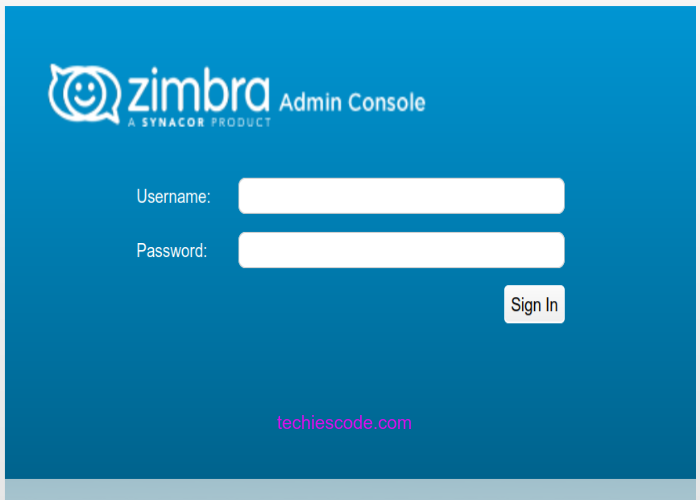
To access Zimbra as a user, use the following URL;
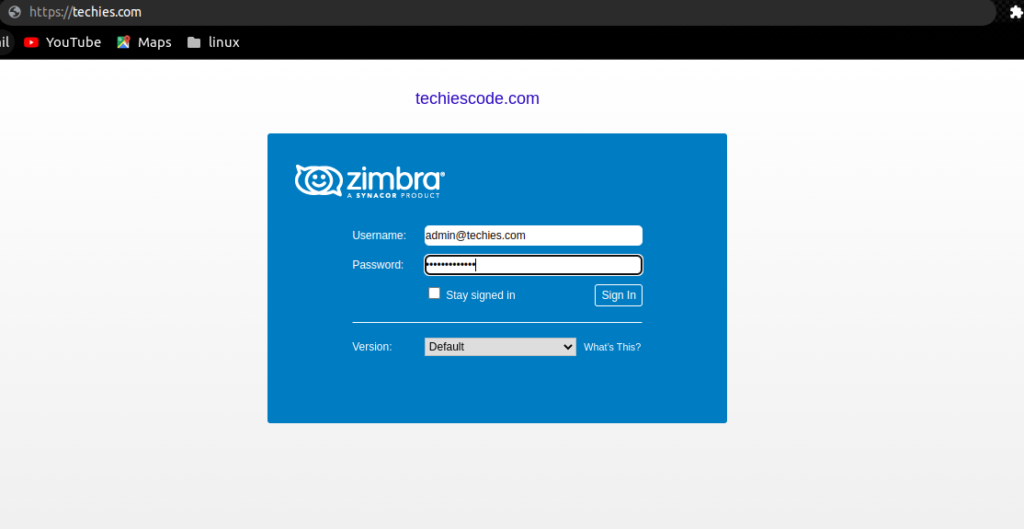
After logging in, the page will look like the one below;

Both credentials can be able to be used for both admin and user login.
You are now good to use the Zimbra mail server for your work or personal business.
Conclusion
We have successfully installed the Zimbra mail server on centOS and configured it. We hope you’ll find this tutorial interesting. Thank you for visiting our site.
Checkout for other interesting articles;
How to Install Zimbra Mail Server in Ubuntu 20.04|18.04|16.04
Best Way How to Install and Configure Dnsmasq in Ubuntu 22.04|20.04|18.04
How to Install AnyDesk Remote Desktop Access Application in Ubuntu 20.04 /18.04